If you grew up in the era of envelopes from the photo lab (which is a lot of the Picture People in our community), there’s a good chance you still have boxes of prints tucked away somewhere: closets, drawers, maybe even a shoebox you’ve been meaning to deal with for years.
One of the fastest ways to make sure those memories are safe is to turn them into digital files. And if pulling out a flatbed scanner feels overwhelming, there’s an easier place to start: your phone.
What Photomyne Actually Does
Photomyne is a mobile app that uses your phone’s camera to “scan” printed photos. But unlike just snapping a picture, it’s designed to:
- Detect the edges of your print
- Straighten and crop automatically
- Minimize distortion
- Reduce glare
- Improve contrast and clarity
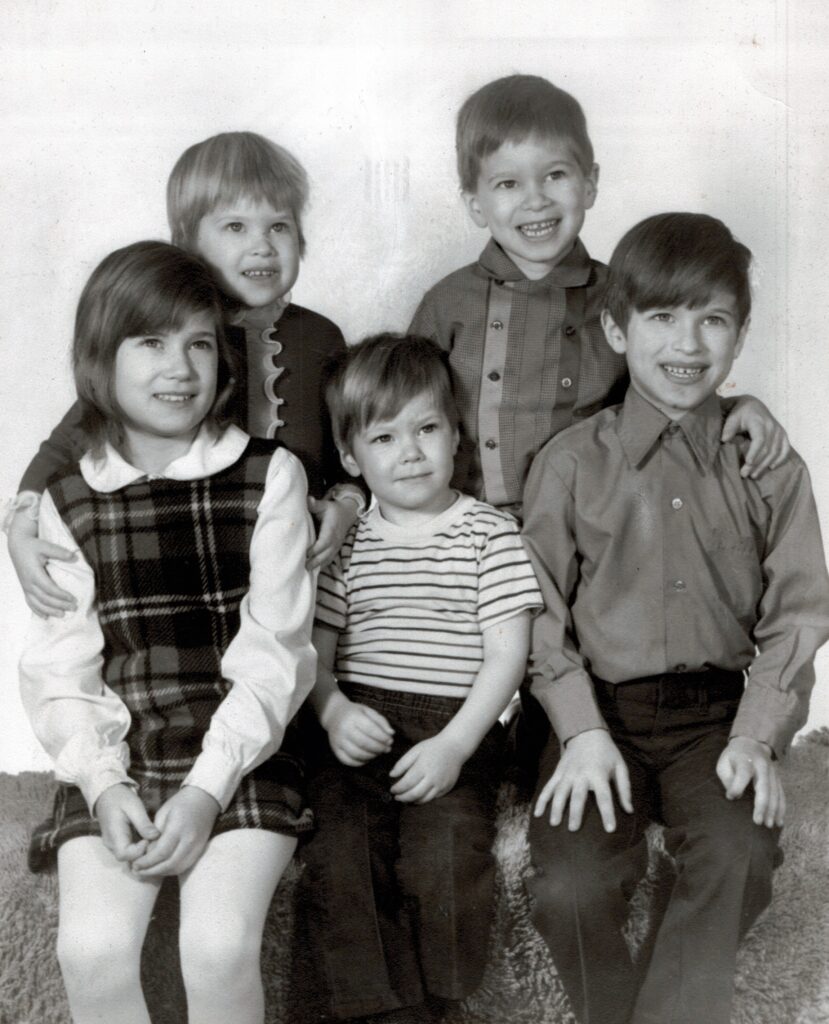
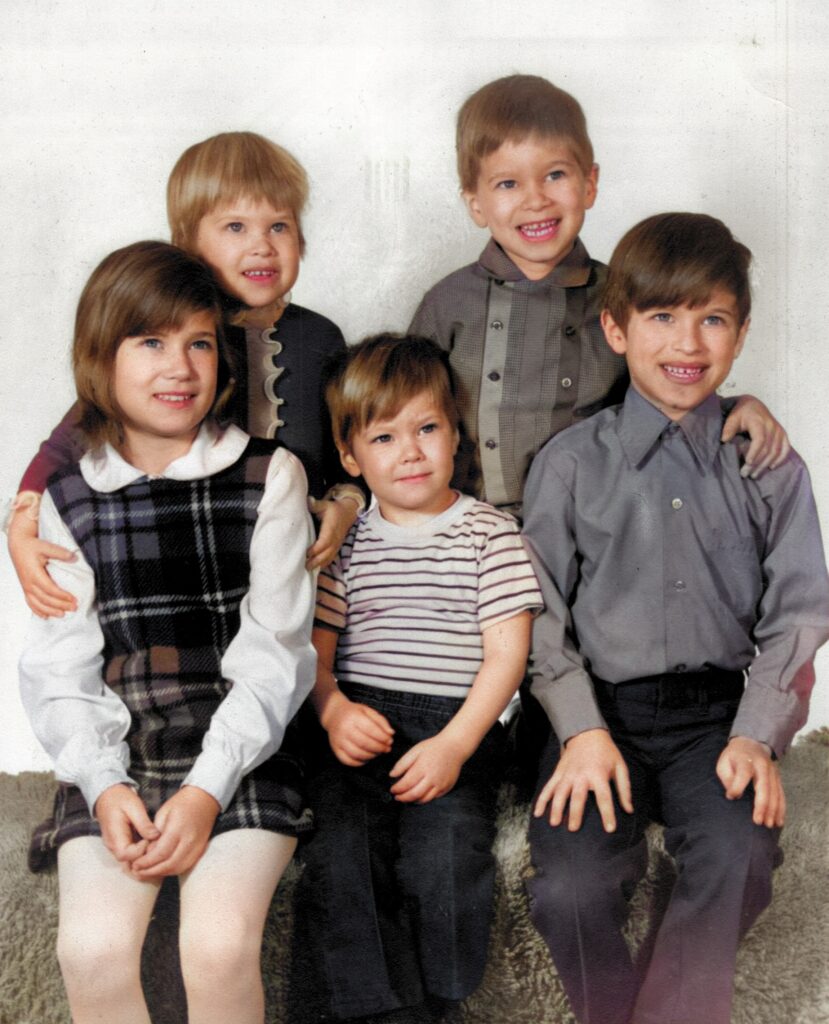
It can also enhance faded photos and even add color to black-and-white images.
For someone staring down hundreds (or thousands) of prints, it’s one of the simplest ways to create a digital backup without buying equipment or sending your collection away.
When Photomyne Makes Sense
Photomyne is great when your goal is:
- Protecting memories from loss
- Sharing old photos with family
- Adding legacy images into your current digital library
- Getting a “good” copy for safekeeping
In other words when you’re focused on preservation, not perfection.
You’re probably not planning to make a museum-quality reprint of your 1990s zoo trip photo… but you do want to make sure it exists somewhere other than that fading envelope. That’s exactly where an app like this shines.
When to Use Something Else
If your intention is to:
- Create new printed copies
- Make enlargements
- Archive images at the highest possible resolution
…then a desktop scanner or professional lab scan will give you better results.
Apps are a fantastic first step for safety. They’re just not the final step for long-term restoration or reprinting.
Tips for Better Results with Photomyne
Use Soft, Even Lighting
- Choose a bright room with lots of window light
- Avoid direct sun hitting the photo
- Turn off overhead lights to reduce reflections
- Try scanning outdoors in open shade
- Place a sheet of white poster board opposite your window to bounce light evenly across the print
Watch for Glare
- Move the photo slightly until reflections disappear
- Glossy prints tend to reflect more, matte copies scan more easily
- Placing the photo under anti-glare or museum glass can sometimes help

Batch Scanning
Yes, the app even allows you to batch scan, so you can capture multiple photos at the same time and it will separate them out. However, I suggest sticking with one at a time because that will give you the best outcome.
Organize Before You Start
Putting your prints in date order now can save you a lot of digital organizing later (and as someone who teaches this every day, trust me, future you will be grateful).
Don’t Leave Them in the App
After scanning:
- Save the files to your camera roll
- Back them up to your cloud storage
- Add them to an external hard drive
Because the goal isn’t just to digitize your photos — it’s to make sure they’re protected.
And if you DO want to make sure you are getting the highest quality scan, a desktop scanner is typically your best bet. I’ve tried out several of them and have a few favorites! Check out this link with more information on Choosing a Desktop Scanner.
If you found this helpful, let’s stay connected!
👉 Want to join the photo organizing CRUISE? YOU are invited to join this fun Picture Person getaway! Check out The Great Photo Voyage and be sure and sign up soon, space is limited!
👉 Grab my free Photo Resource Guide – it’s packed with tools, apps, and simple steps to get started.
👉 Check out my book, Beyond the Storm – a powerful blend of true stories and practical advice for safeguarding your photos.
Check out Instagram and YouTube to get my latest information.