
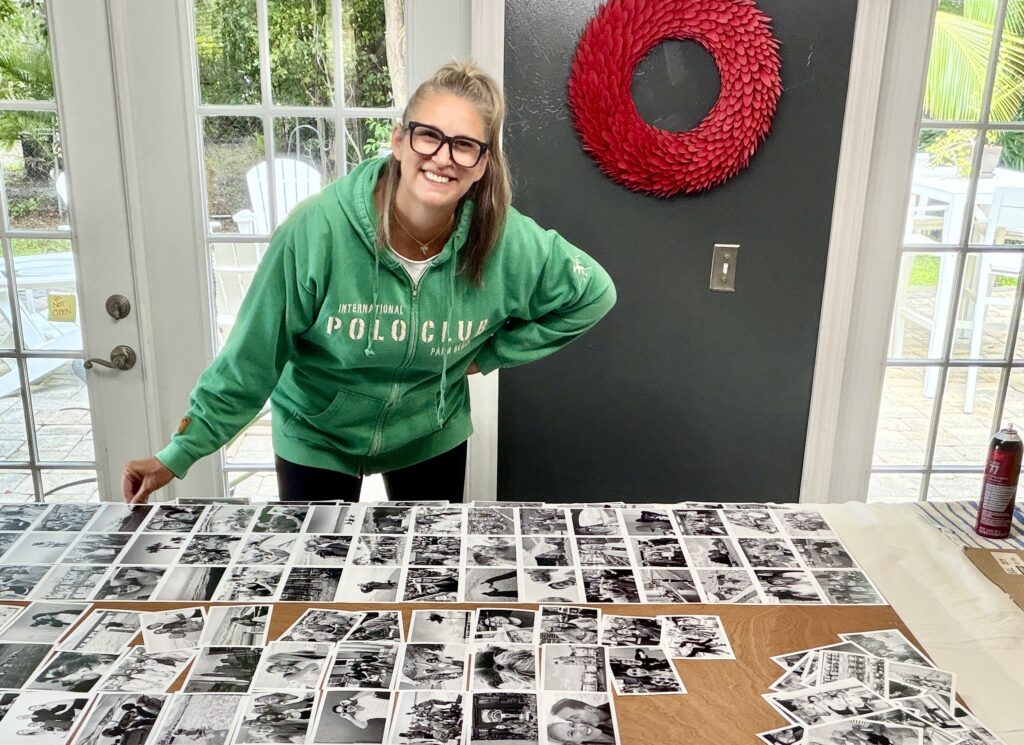
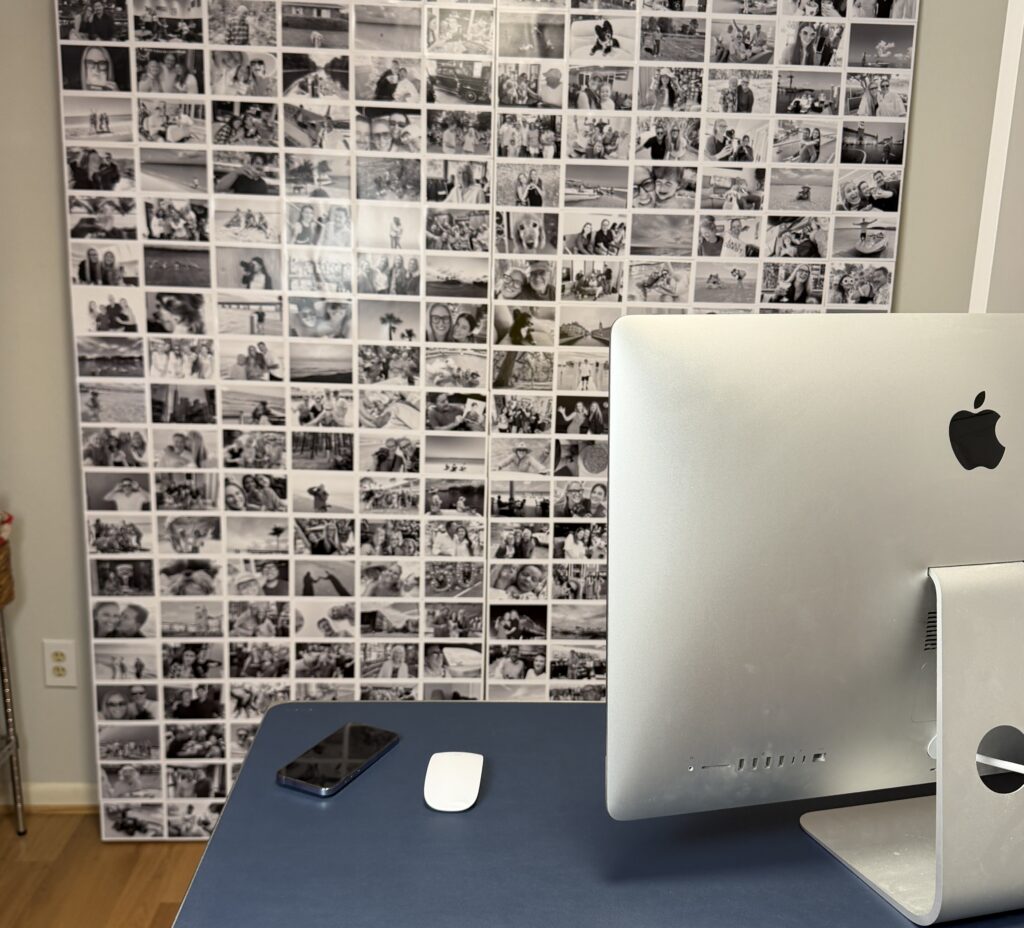
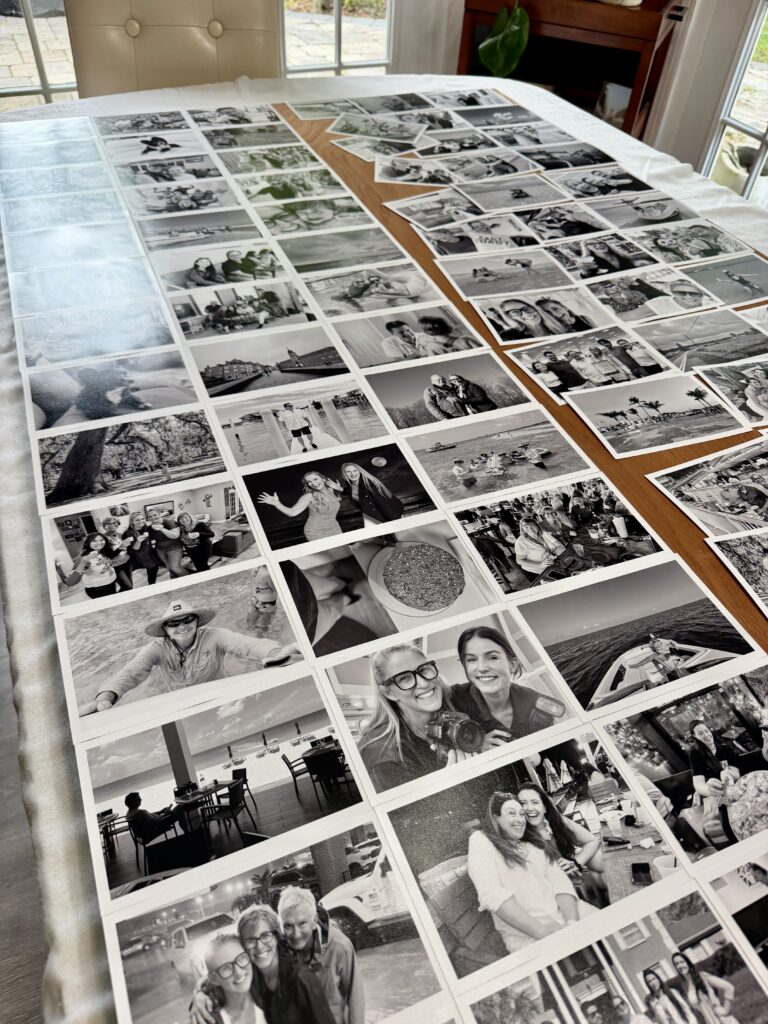
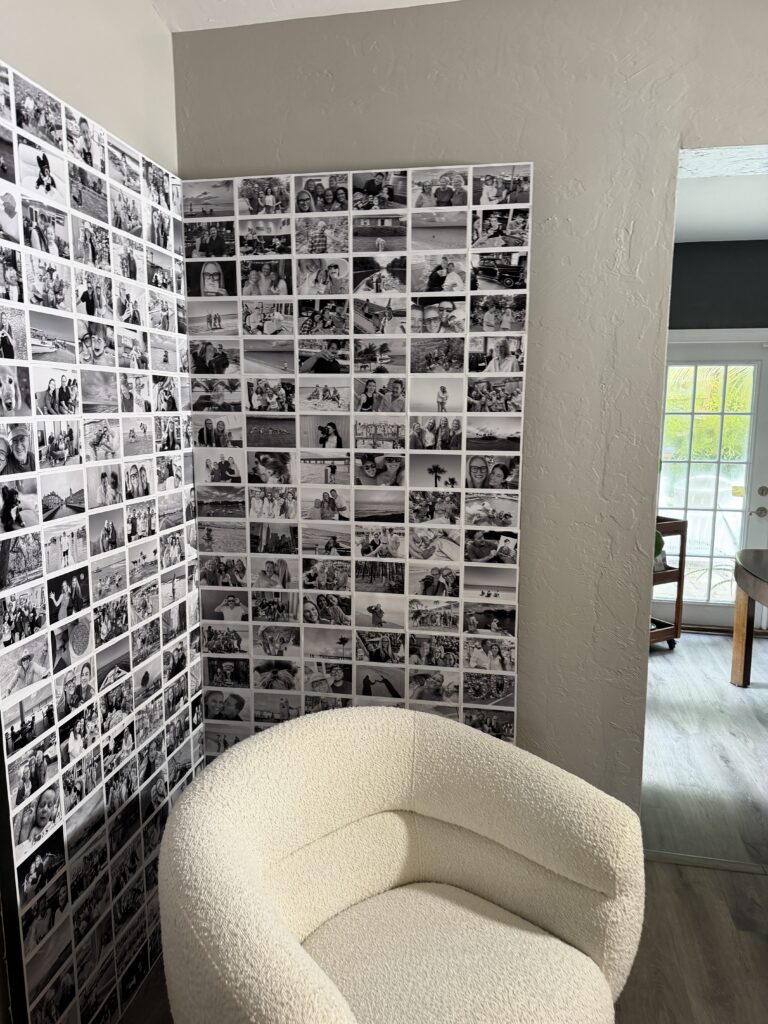
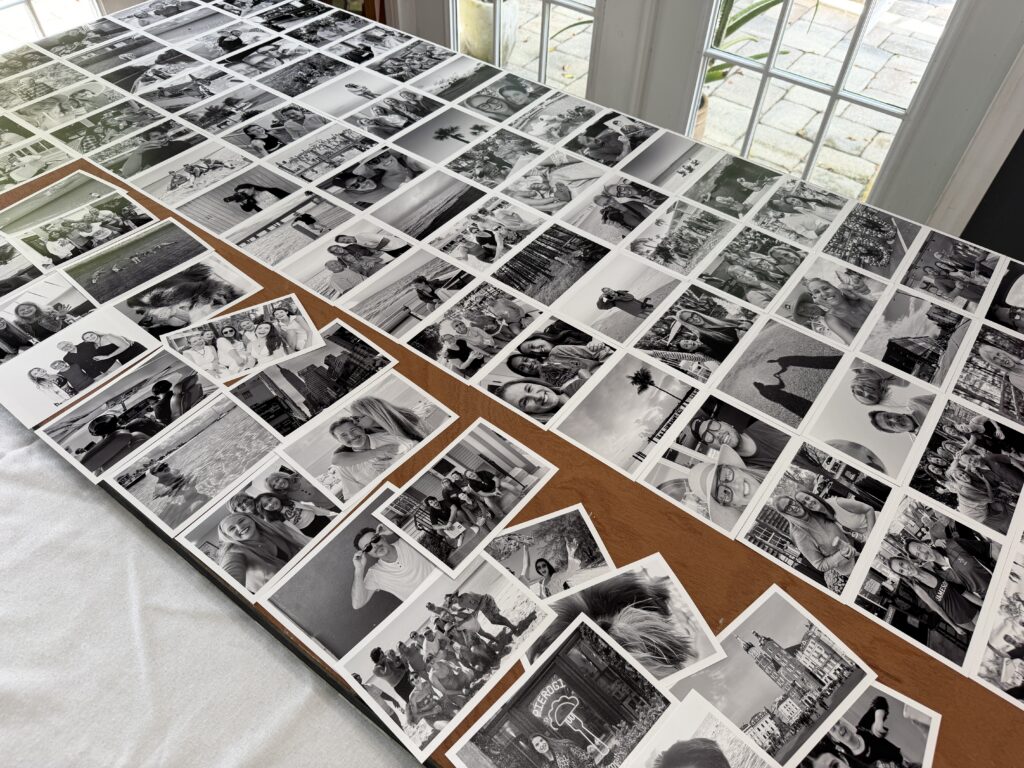
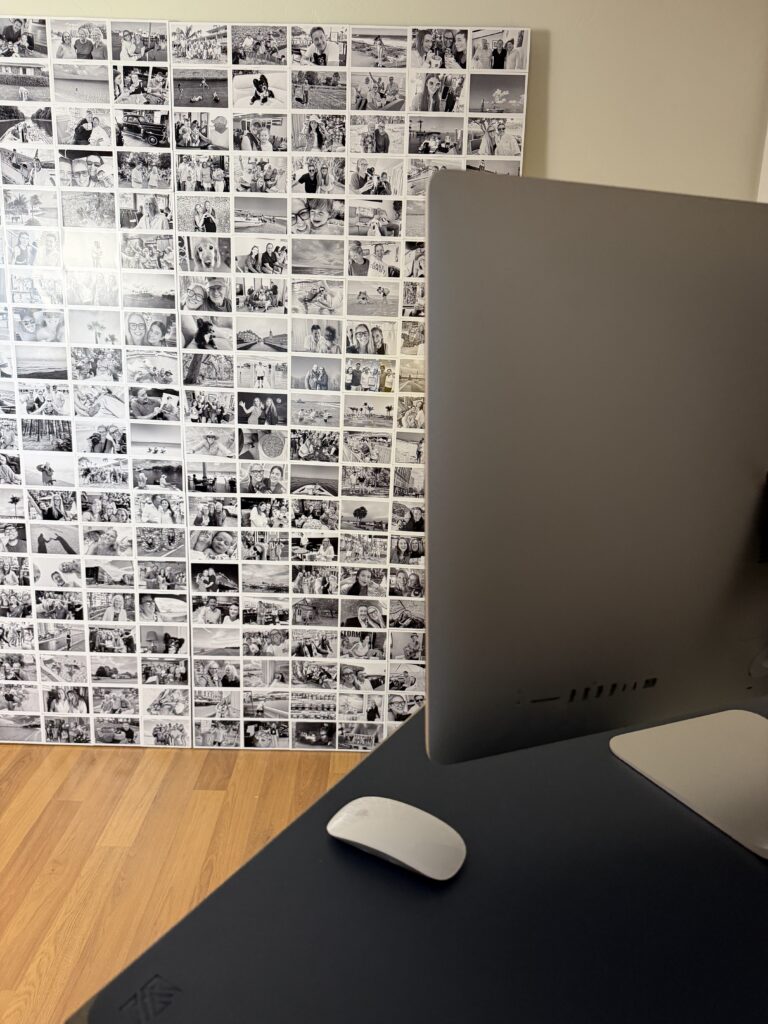
I’ve made versions of this giant photo collage several times over the years.
We had one hanging in our dining room years ago, and the one you’re seeing now has lived in my office for about a decade. It’s behind me during Zoom calls and online classes, and I’m constantly asked how I made it.
The answer is surprisingly simple.
It’s basically a whole bunch of 4×6 prints, an inexpensive hollow-core door and spray adhesive.
After about 10 years, I finally decided it was time to update the photos on mine. And, of course, my kids immediately asked if I could keep the old one.
Which might be the best proof I can give you that printed photos matter. Even after looking at those pictures for years, nobody was ready to throw them away.
So yes, I kept it…. Sort of… I actually just made a new one on the flip side of the doors. So it’s still there. But I think they are going to love the new one with our latest adventures too!
Step 1: Choose your photos
This is the fun part.
For mine, I like a mixture of everything: portraits, candids, close-ups, scenery and those little everyday pictures that probably wouldn’t be the one photo you’d choose to frame by itself.
Together, they tell a much bigger story.
And here’s something important: the photos in my new collage are phone photos.
You do not need professional photographs or giant image files to do this. I selected my favorites right from my phone and ordered the prints from Mpix from my phone.
I chose black and white because I love how simple and timeless it makes the finished piece feel. With this many photographs together, black and white also lets all kinds of different moments, places and years live together without feeling chaotic.
But I think this could be gorgeous in color too.
I’ve also seriously considered making one entirely from duplicate prints of old family photographs. Imagine a giant wall of grandparents, great-grandparents, childhood homes, weddings and everyday family life. It could be such an easy and actually visible way to enjoy your family history instead of keeping all of it tucked away in boxes.
Step 2: Pick ONE photo orientation
This is important.
I recommend making all of your prints either horizontal or vertical rather than mixing orientations.
That uniformity is what allows the photos to fit together cleanly and makes the finished collage look intentional instead of like a random collection of pictures.
Mine uses horizontal 4×6 prints, but you can absolutely create a vertical version. You just need to think about the dimensions of your surface and how your 4x6s will fit across it before you start.
Step 3: Order good prints
For a project this large, print quality makes a difference.
I ordered mine from Mpix. They’re a great choice when you want a really good-quality print, and there are a couple of reasons I especially like them for this project.
First, I can add a white border to the prints when I order them. That tiny border gives each image just enough visual separation once they’re all placed together.
Second, their black-and-white prints are actually black and white. When you’re putting this many black-and-white photographs next to each other, an odd green, blue or magenta color cast becomes much more obvious.
The same principle applies if you make yours in color. When dozens or hundreds of photographs are sitting side by side, consistent, accurate color matters.
Step 4: Head to the hardware store
Here is the part that usually surprises people.
The giant “board” holding all of those photographs is actually a door.
Specifically, I use one of the inexpensive, unfinished hollow-core interior doors you can find at a home-improvement store.
You don’t need a beautiful door. In fact, the cheap ones are perfect for this.
A hollow-core door gives you a large, rigid, perfectly flat surface without the weight you’d get from a similarly sized piece of solid wood. It doesn’t bow or flop around like thinner materials can, and once it’s covered in photographs, nobody knows they’re looking at a door anyway.
Standard interior doors commonly come in widths such as 24, 28, 30, 32 and 36 inches, with 80 inches being a very common height.
The size you choose matters because of your print orientation.
A 4×6 horizontal print is 6 inches wide, so a 30-inch-wide door fits five prints across and a 36-inch door fits six across perfectly. I used two 36-inch doors placed side by side.
If you’re using vertical 4×6 prints, each photograph is 4 inches wide, so choose your door width with that measurement in mind.
Before buying the door, decide which way your photographs will face and calculate how many will fit across and down. You want as little cutting or improvising as possible. With the 36 inch doors and horizontal photographs, there was zero cutting involved, they just fit.
That’s part of what makes this project so easy.
Step 5: Lay everything out before you glue
You don’t necessarily need to obsess over exactly where every photograph goes, but I do like to make sure similar images aren’t all clustered together.
Spread out the people. Mix the close-ups with wider scenes. Move around pictures from the same event or vacation.
You’re creating one giant visual story.
And then comes the most important photograph of the entire project:
the first one.
Step 6: Get that first corner PERFECT
If there is one place to slow down, it’s here.
Start in one corner of the door and make sure that first print is lined up perfectly with the edges.
Straight really means straight.
Because once that first photograph is positioned correctly, the rest of the project becomes ridiculously easy. Every new print lines up against the ones before it.
Bam. Bam. Bam.
You’re basically building a giant photo grid.
If the first one starts crooked, however, that tiny error can become a much bigger one by the time you’ve worked your way across the door.
So obsess over the first print.
Then have fun.
Step 7: Glue the photographs down
I use spray adhesive for this.
A light, even spray works well, but pay particular attention to the corners. Those are the areas you don’t want lifting over time.
One important disclaimer: the spray adhesive I use is not archival.
I’m okay with that for THIS project because these are duplicate prints that I specifically ordered to make a craft project.
I would not do this with an original photograph, an irreplaceable vintage print or anything you are trying to preserve archivally.
Think of this as photo decor, not photo preservation.
Your important originals should be stored and preserved properly. Make copies of those photographs and use the copies for projects like this.
For this purpose, I actually want a strong adhesive. I don’t want to walk into my office six months from now and find 37 little photo corners curling away from the board.
And I can tell you from experience: mine lasted for years.

Step 8: Keep going
Once you get started, this part moves FAST.
Spray. Place. Line it up.
Spray. Place. Line it up.
The existing photographs become your guide, so you’re not measuring and marking the entire door.
Before long, this inexpensive door has completely disappeared and you’re looking at one enormous wall of photographs.
It looks like a massive custom art installation.
But you know the secret.
It’s a door.
Where could you use one?
Mine lives in my office, and I love having that many pieces of my life surrounding me while I work.
But this doesn’t have to be permanent home decor.
I think this would make incredible party decor.
Imagine one filled with photographs from someone’s life at a milestone birthday. Or photos of a couple at an anniversary party. Childhood through graduation for a graduation celebration.
And I can especially imagine one at a memorial or celebration of life.
Instead of displaying a handful of framed photographs around a room, you could create an entire wall of someone’s life: faces, places, vacations, family, silly moments and everyday memories.
People would naturally gather around it and look.
And that’s really what I love most about this project.
It’s impressive because of its size, but it’s not really about making something impressive.
It’s about getting the photographs out where people can see them.
My old collage hung for roughly 10 years. I walked past it thousands of times. My family saw those pictures over and over and over again.
And when I finally said it was time to replace it?
They didn’t want me to get rid of it.
That tells me everything.
We really do love our printed photos.
Sometimes we just need to give ourselves a reason to print them.
👉 Want to join the photo organizing CRUISE? YOU are invited to join this fun Picture Person getaway! Check out The Great Photo Voyage and be sure and sign up soon, space is limited!
👉 Grab my free Photo Resource Guide – it’s packed with tools, apps, and simple steps to get started.
👉 Check out my book, Beyond the Storm – a powerful blend of true stories and practical advice for safeguarding your photos.
Check out Instagram and YouTube to get my latest information.