So you have old pictures in boxes, albums and frames. You would LOVE to get digital copies of all of them but don’t know where to begin? If that’s you, here is what I suggest to get that process started!
I suggest first getting photographs out of albums and frames and putting them all in chronological order. It is definitely possible to reorganize the digital files after they are scanned, but personally I think spreading those old photographs out and doing that step BEFORE you scan them is always easiest.
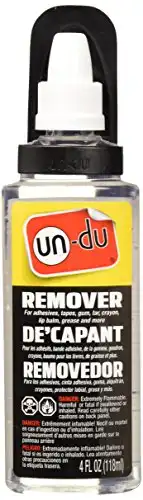
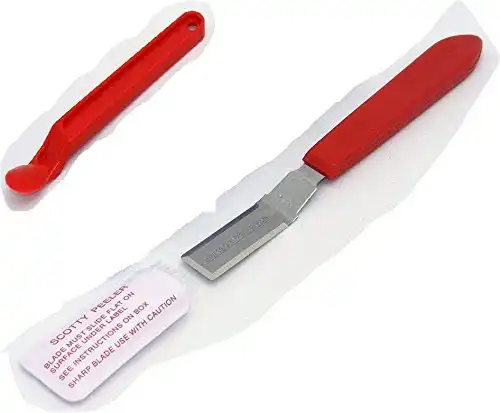
If you have taken pictures out of those sticky back albums (and you need to do that!) make sure there isn’t any residue on the back of the print. This could damage a scanner. If you do have a residue on the back you can use rubbing alcohol to safely remove that grime. If you have a hard time try a glue remover like Un-Du. You can also use a razor set like this one if you are having a hard time with that removal process.
|
|
|
3.5
|
3.5
|
|
$13.43
|
$11.99
|
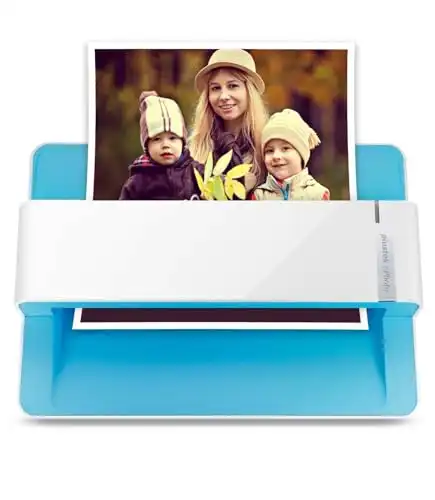
Then it’s time to select a scanning method. There are photo scanning apps like Photomyne that you can add to your phone. That is definitely an affordable option and it has nice features like the ability to colorize photographs. However, if you have a lot of pictures and you want to make the process fast, simple and have the best quality scan I suggest getting a desktop scanner that has a feeder function. Although any desktop scanner will work, ones with a feeder are significantly faster. The fastest is the Epson FastFoto. This scanner also does a great job of correcting the color in old prints. Another option is the Plustek Photo Scanner. You do have to manually feed the photographs in, one at a time (unlike the Epson FastFoto that allows you to scan a stack of pictures) so it’s not as fast as the Epson FastFoto, but still offers a great quality.

|
|
|
|
|
|
- Auto feeds 30+ pictures at a time
- Extremely fast scan speed
- Good quality scan
- Auto color correction
- Scans front and back
- Software is easy to use
- Price
- Most affordable feeder scanner
- Sleek design
- Good quality scan
- Faster than a flatbed scanner
- Manual document feeder
If you need more help selecting what type of scanner is right for you, check out this link!
I suggest setting your scanner to 600 DPI. This can be done in the settings for your scanner. 600 DPI will give you a higher quality scan than if you select 300 DPI, but not such a high quality that the file size is extremely large (and scanning becomes slower) like the 1200 DPI option. I’ve scanned prints at each size with both my Plustek and Epson scanners and found overall that no matter what size I selected, they turned out nice. If you are never going to reprint the images and they are never going to be anything more than a digital file this setting might not matter much, but 600 DPI is what I suggest if it’s possible you just might want to print them again someday.
Once you have scanned those photographs I suggest keeping them in individual folders by year. This is easy to do if you put them in chronological order before you start. I have found this to be the best organization method for old photographs.
Have you scanned your old photographs yet? If so I would love to hear how the process went for you, leave a comment with your thoughts! What tips do you have? Anything you would suggest doing (or not doing!) to make that process run the best?